A fence increases property value and security. Go ahead and build your own.
An attractive wood fence not only creates an elegant border around your home – but done well, it can add value and curb appeal to your property.

Before

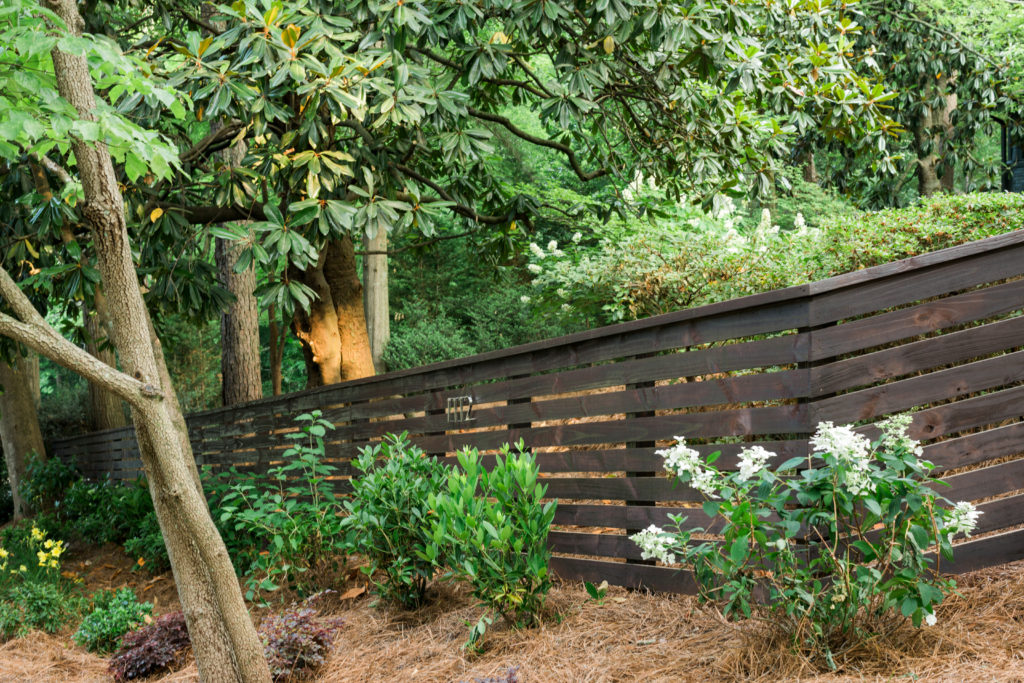
After
Step 1: Consider Setbacks & Permits
Before you get started on your fence, be sure to do your homework regarding building codes, permits and setbacks (the distance you need to leave between your fence and adjacent roads, structures or your neighbors’ property lines). Also, call 811 before you dig to get more info regarding underground utilities.

Step 2: Gather Tools & Materials
Gather together your tools and materials so you’ll keep runs to the home improvement center limited once you start the project! We used durable, affordable pressure-treated Southern Pine for this fence project- 4×4 posts with 1×4 slats running horizontally and a 2×6 top rail.

Step 3: Stake End Posts
Start a project like this by placing two stakes into the ground where the end posts will be located. Then, run a level string between the two posts.

Step 4: Mark Post Locations
Next, using spray paint or flags, mark where each post will go along your string line. Our design required a post every 4 feet.

Step 5: Dig & Prep Holes
Dig each post hole 24 inches deep and 12 inches wide, to accommodate 4×4 pressure-treated posts. Add about 6 inches of gravel to each hole. Place the uncut end of the pressure-treated post down into the gravel a couple of inches, making sure it is level and plumb.
NOTE: Pressure-treated lumber is categorized for ground contact or above ground use. Be sure you use the right treated wood for your project.
PRO TIP: Use a wood preservative to seal the cut ends to protect them from decay and insects.

Step 6: Set Posts
Holding the post in place, positioned so that it’s level and plumb, fill the hole with a wet cement mixture.

Step 7: Stake Posts
Using 2x4s, stake the posts into place so that they stay plumb until the cement sets up.

Step 8: Trim Posts
Once the cement cures, remove the stakes. Trim the post tops to be level with one another by snapping a chalk line and cutting the tops off with a circular saw.

Step 9: Measure & Mark Posts
Do a bit of math to determine equal spacing and location for your horizontal fence boards. Then, pull a chalk line across all your posts and you’ll have a guide to work by. Take the height of your fence divided by fence boards/spacing to make vertical hash marks on each post. For example- our fence is 48 inches tall with horizontal boards that measure 3 ½ inch wide, with ¾ inch spacing, so we need a hash mark every 4 ¼ inches on the post, starting from the top down. Then, make hash marks on each post at this increment from the top down. Pull a chalk line and pop it at each hash mark to get an accurate guide for lining up the top of each of your fence boards. Try to arrange your spacing so that no board has to be “ripped” or cut down the longest side of the board with a circular saw.

Step 10: Attach Fence Boards
Next, start securing the horizontal boards, working from the bottom up, following the slope. One thing to note about installing a fence on a graded lot – you have options. You can build your fence in sections that run in step with the slope, or build it so that the top of the fence is even and only the bottom boards accommodate the slope. Or you can do what we did here, where it runs completely parallel with the slope.

Step 11: Caps Ends
Our fence is decorative and not a full enclosure so we capped off the end posts with a 1×6 inch board for a cleaner look.

Step 12: Add Top Rail
Cap off the top of the fence with a top rail. A simple 2×6 gives the fence a finished look.

Step 13: Stain Fence
Then, the fence was stained in a rich brown. Using a large brush, stain the boards one section at a time.

Step 14: Add House Numbers
Finally, we added sleek house numbers to play up the fence’s modern design.

Click here to view the step-by-step video for building this project.
For additional inspiration, check out the following articles:
- View our complete Fences inspiration collection in our Ideas Center
- Cedar Board-On-Board Fence
- Redwood Border Fence
We’ve compiled a full list of materials you’ll need to build a fence for your home here:
- 4×4 PT Posts (vertical posts)
- 1×4 PT Boards (fence planks)
- 2×6 PT Boards (top rail)
- 1×6 Inch Board (cap sides)
- 2x4x10 (bracing)
- Hammer
- Stakes
- String
- Flags or Bright Spray Paint
- 100 ft. Measuring Tape
- Pencil
- Gravel
- Cement Mix
- Wheel Barrow
- Shovel
- Nail Gun With 2 ½ Inch Ring Shank Nails (galvanized)
- Circular Saw
- Reciprocal Saw
- Ear & Eye Protection
- Post Level
- Paint Brush
- Rags
- House Numbers
- Drill